
Cómo usar Driver Verifier Windows 10 Solvetic
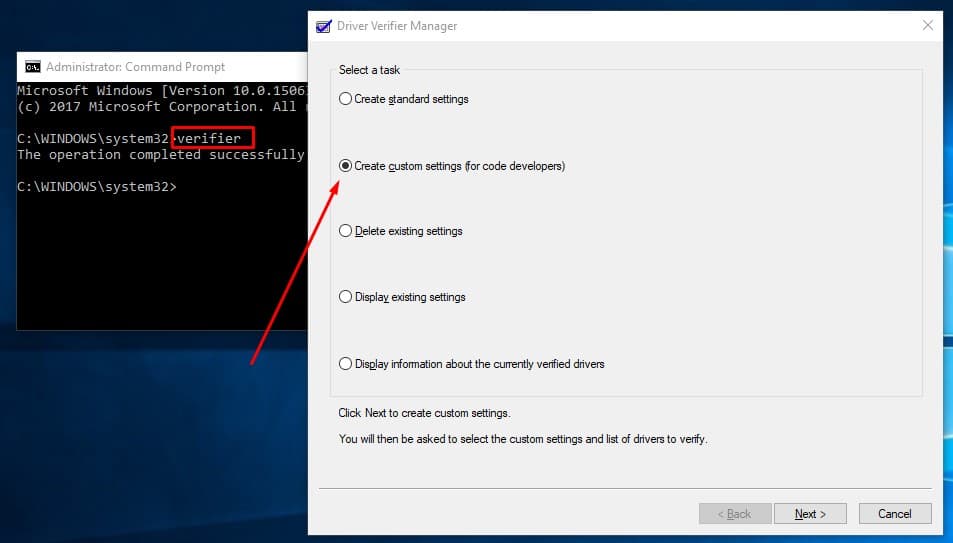
Step 2: Run Driver Verifier - Windows 11, 10, 7 & Vista - START | type verifier Windows 8.1 & 8 - Press WIN +X keys | select "Command Prompt (Admin)" | type verifier Step 3: a. Please select the option called "Create custom settings (for code developers)".This will allow us to select the recommended tests to verify the drivers against.

Enable and Disable Driver Verifier in Windows 10 Tutorials
The Driver Verifier Manager tests each specified driver at startup. If it detects a problem, it identifies it and then stops it from running. The tool allows you to verify any category of.
Use Driver Verifier to Detect and fix Blue Screen (BSOD) errors
Original KB number: 244617 Driver Verifier capabilities To use Driver Verifier, run Verifier.exe, and then restart your computer. You don't have to make any other changes to begin analyzing drivers in the system. Your user account requires Administrator privileges to run Verifier.exe.
Driver Verifier Manager Windows 10 americanyellow
Quick Links Driver Verifier is Mostly For Developers Your PC's Drivers Are Probably Well-Tested Driver Verifier Can Cause Crashes When You Might Want to Run Driver Verifier (Maybe) How to Run Driver Verifier How to Disable Driver Verifier Windows includes a "Driver Verifier" tool that can stress test your device drivers.
Enable and Disable Driver Verifier in Windows 10 Tutorials
1. Press + R and type verifier in the Run dialog box. Click OK. 2. In User Account Control ( UAC) prompt click Yes. Note the your account should belong to administrator's group to open Driver Verifier. 3. Now the Driver Verifier wizard will open, and you'll see window shown below. Choose Create standard settings option under Select a task.
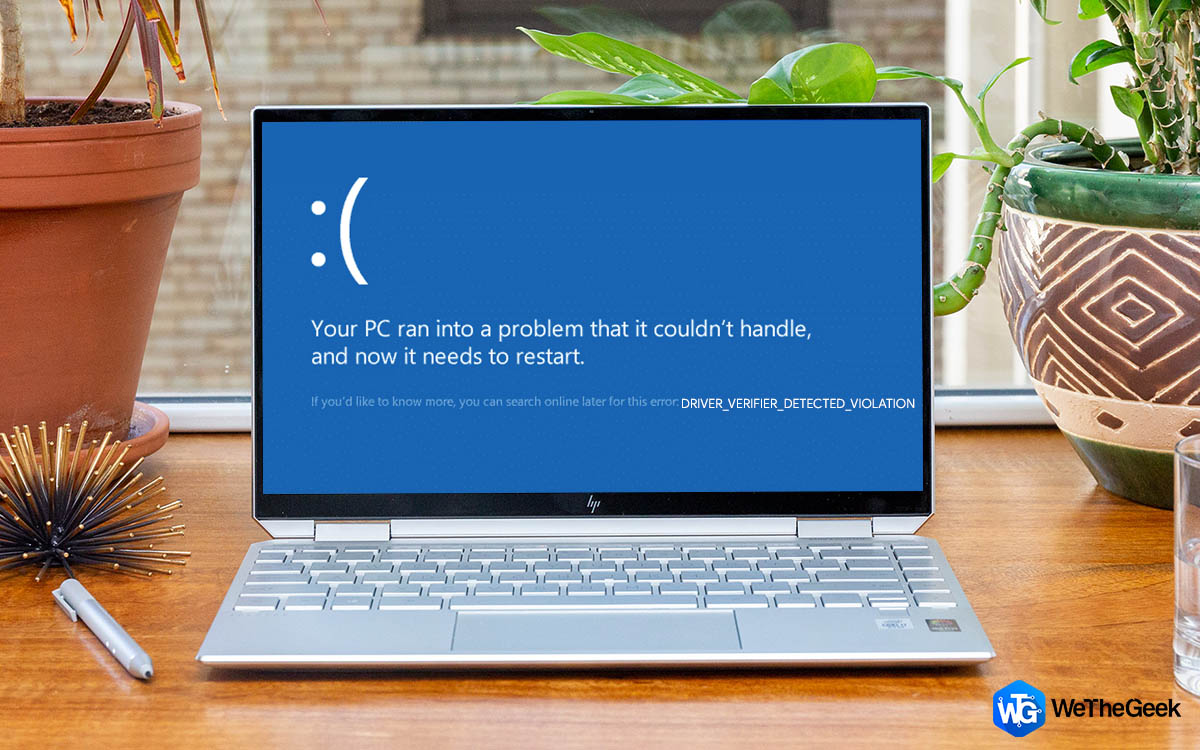
How to Fix Driver Verifier Detected Violation Error In Windows 10
Step 2: In the terminal window, type "verifier" and press "Enter.". This will open the Driver Verifier tool on your computer. Open Driver Verifier. Step 3: In the Driver Verifier Manager window, select "Delete existing settings" and click on the "Finish" button. Select Delete existing settings.
Should one use the Driver Verifier in a Windows 10 computer? The Official FileInspect BlogThe
Starting with Windows 10, driver verifier includes new driver validation rules for the following technologies: New Rules for Audio Drivers New Rules for AVStream Drivers Driver Verifier in Windows 8-1 ( Updated: June 17, 2013) Starting with Windows 8.1, Driver Verifier introduces four new options for detecting errors.
Enable and Disable Driver Verifier in Windows 10 Tutorials
12/14/2021 1 contributor Feedback Driver Verifier can be activated, configured, and monitored through the Verifier utility. This utility contains both a command-line interface and a graphical interface. This section includes: The Verifier Utility Controlling Driver Verifier Monitoring Driver Verifier Collaborate with us on GitHub

Solved Windows 10 BSOD Driver irql not less or equal bugcheck 0x0000000A
OPTION 1 Run Driver Verifier by Searching Start Menu 1: Click on the Start button and type Verifier into the Search box, then click on the Verifier tile. OPTION 2 Run Driver Verifier via Command Prompt 1: Open a Command Prompt, type in Verifier then hit enter.

Check for Bad Drivers in Windows with Driver Verifier Make Tech Easier
Driver verifier is a utility built into the OS (Vista, WIN 7, Win 8, and win 10) that will often find the driver/drivers that are the underlying cause of BSOD/Crashes It is an "iffy" proposition because it will not ALWAYS tell us which driver it was, but it is the best way to narrow down the possibilities Details

Enable and Disable Driver Verifier in Windows 10
Press Windows Key + R to launch the Run command. Type sysdm.cpl in the text box and hit Enter. In the Advanced tab, under Startup and Recovery, click on Settings Uncheck Automatically restart. Under the Write debugging information section, select Small memory dump (256 KB) from the drop-down menu.
Enable and Disable Driver Verifier in Windows 10 Tutorials
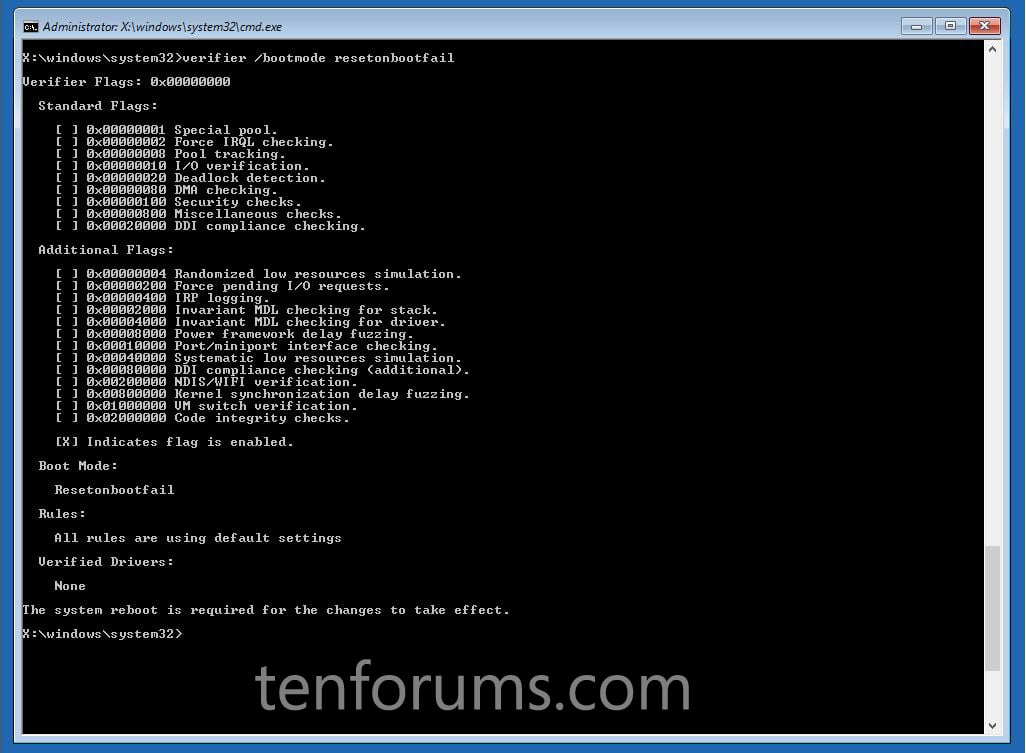
Start a Command Prompt window by selecting Run as administrator, and type verifier to open Driver Verifier Manager.
Enable and Disable Driver Verifier in Windows 10 Tutorials
Step 1: Type cmd in the search bar and select Run as Administrator under the Command Prompt app. Step 2: Type verifier in the command line and press Enter to open the Driver Verifier utility. Step 3: In the Driver Verifier Manager, select Create custom settings (for code developers) and click Next.

Why You Shouldn’t Use the Driver Verifier in Windows 10
You can also open the Command Prompt and type "Verifier" and press the Enter key on your keyboards to run it. Lastly, you can open Task Manager, create a new task and then choose to open the Verifier. To do that, click on "File" and then "Run new task.". Then type "Verifier" into the available field before clicking on the "OK.

How to Use Driver Verifier to Fix Common Bluescreen Errors in Windows 10
Navigate to your OS Drive, then open \Windows\System32\Config\SYSTEM (no file extension), give the hive a temporary name (e.g. CDRIVESYSTEM) Navigate through registry - HKLM\CDRIVESYSTEM\CurrentControlSet\Control\SESSION MANAGER\MEMORY MANAGEMENT\VerifyDrivers. Remove VerifyDriverLevel and VerifyDrivers values. Hit File : Unload Hive.

Why You Shouldn’t Use the Driver Verifier in Windows 10
Note: Click Yes when prompted by User Account Control. 2) On the open black window, type verifier and press Enter. 3) Now the Driver Verifier Manager would be open. Tick on Delete existing settings and click Finish. 4) Reboot your Windows 10 and the Driver Verifier would be disabled now.
